Now it’s time to get to work. You’ll start to see the table come together in the next few steps. You’ll also need a few more tools used in each of these steps. For easy reference, you’ll find a full list at the bottom of this blog post. Just to recap, we have the slabs and have identified the layout. Let’s make some sawdust.
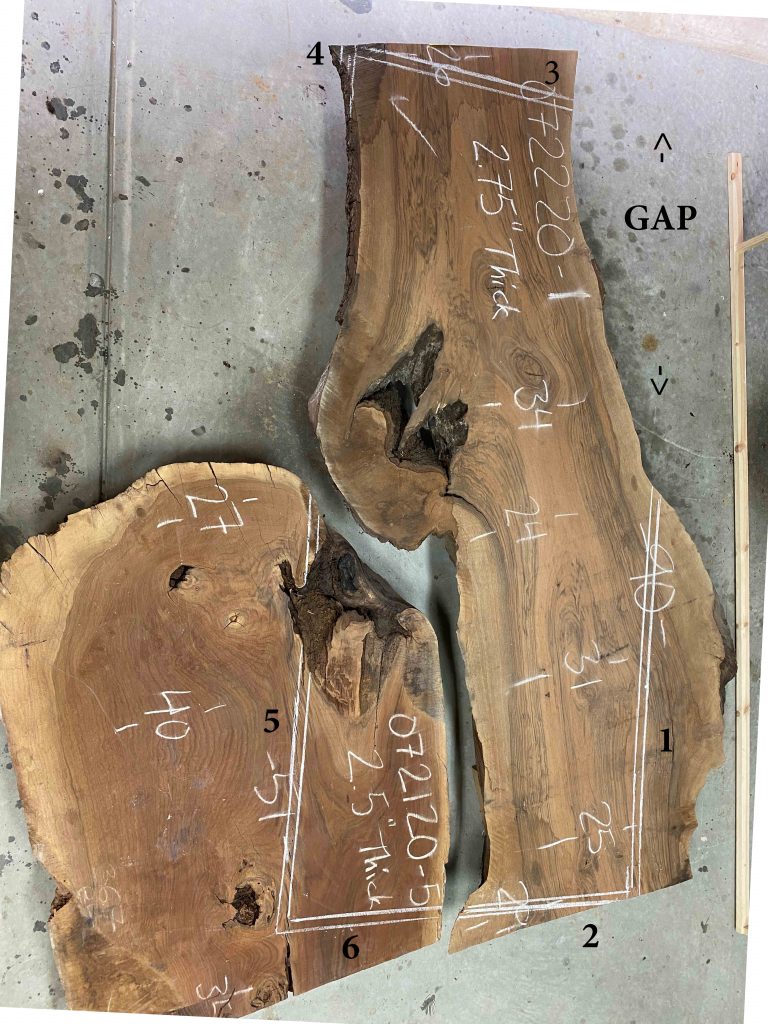
I like to use chalk to mark the cut lines on the slabs. We’re not trying to get down to the millimeter here, just get yourself close. If you are using a frame, remember to cut on the outer line. This gives you the excess we talked about in The Layout post. Determine which cuts you are going to make first in order to have as little offcut as possible. In the photo to the right, I’ve labeled the cuts I made in order for reference. I started with the longest edge of my larger slab and worked my way around. The offcut from cut one would end up filling the area labeled “Gap” in the layout. For the second slab I worked the same way; long edge first then the final cut.
For all these cuts I used my Festool TS 75 track saw. This is a great tool and is made specifically for these precision cuts. I have two tracks for this saw; 1400mm (55″) and 3000mm (118″). Festools’ tracks have the capability of being combined end to end. This means I have the capability of cutting up to 4.4M or 14′ 5″ without worry, which is more than enough right now.
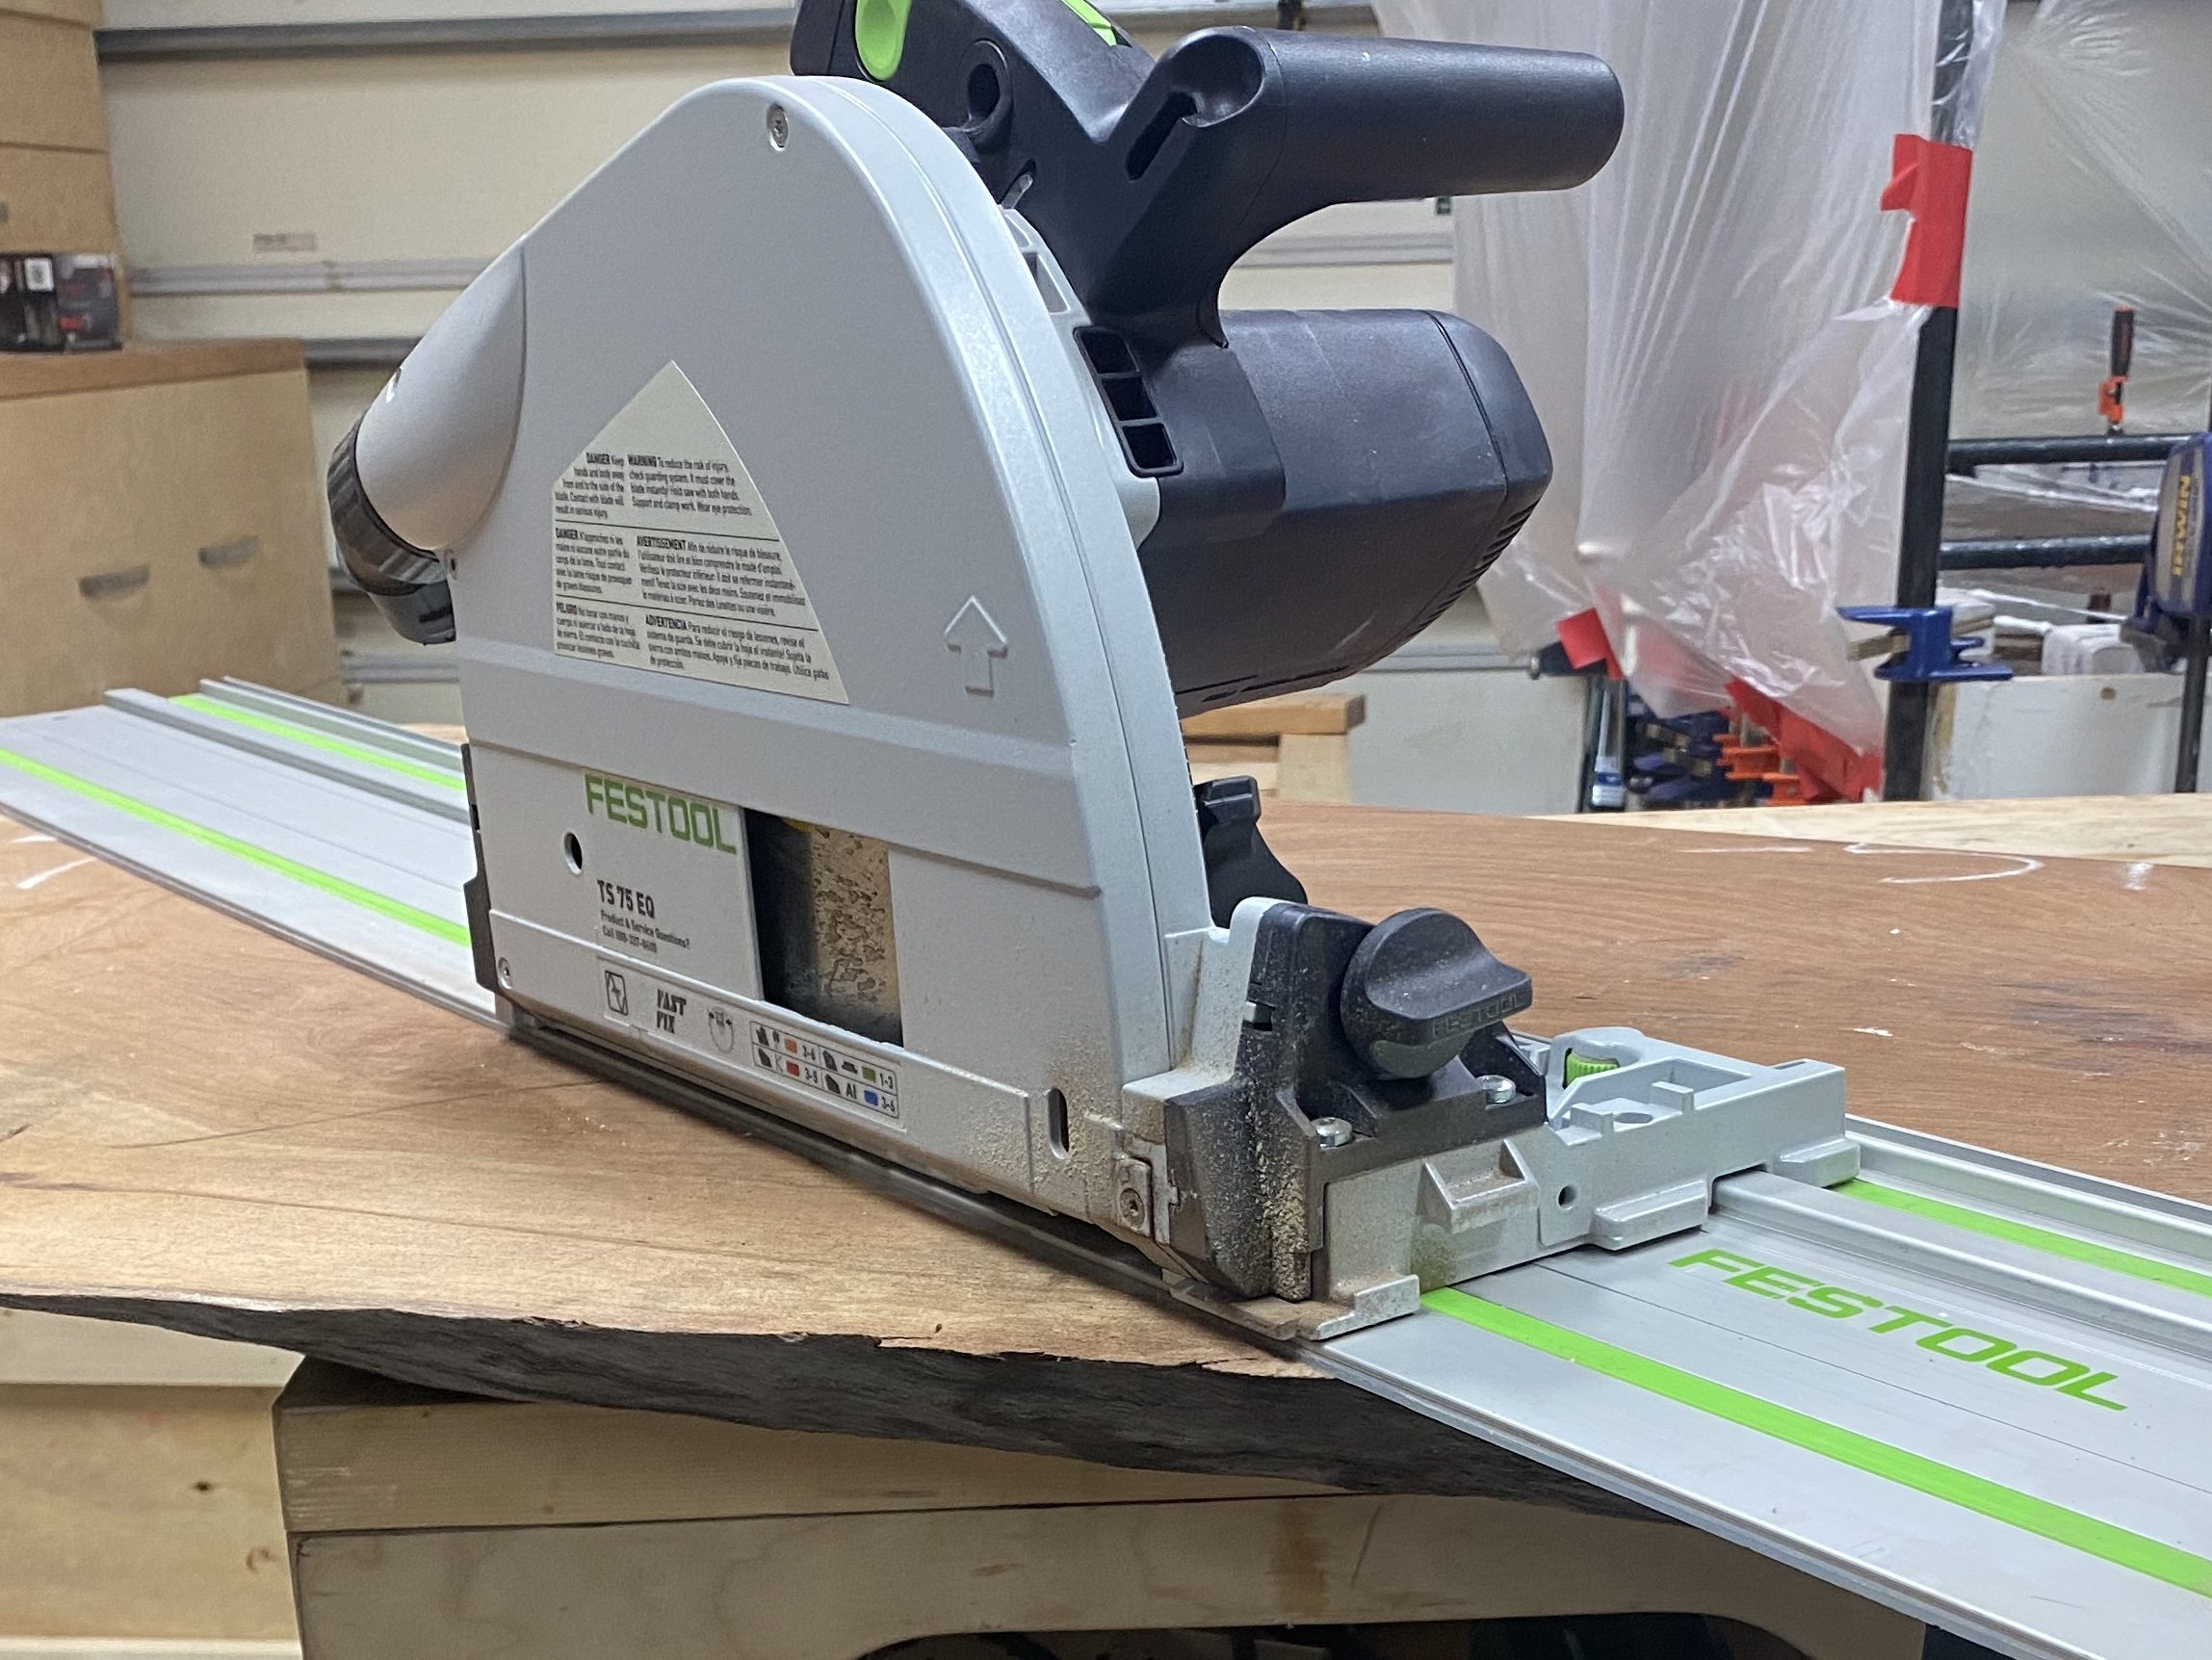
For those of you who have never used a track saw before, you really need to try it. It’s a very simple tool to use; simply line up the edge of the track with your cut line and clamp it down. The saw rides in the track. It’s a touch underpowered for my feel, but there is no comparison for the precision. The saw has the means to set a specific depth so you don’t have to, nor would I suggest, attempting to cut a slab in one pass. Take multiple, shallow passes. Personally, I don’t cut more than 1/2″ deep at a time and end up getting a great, clean edge.
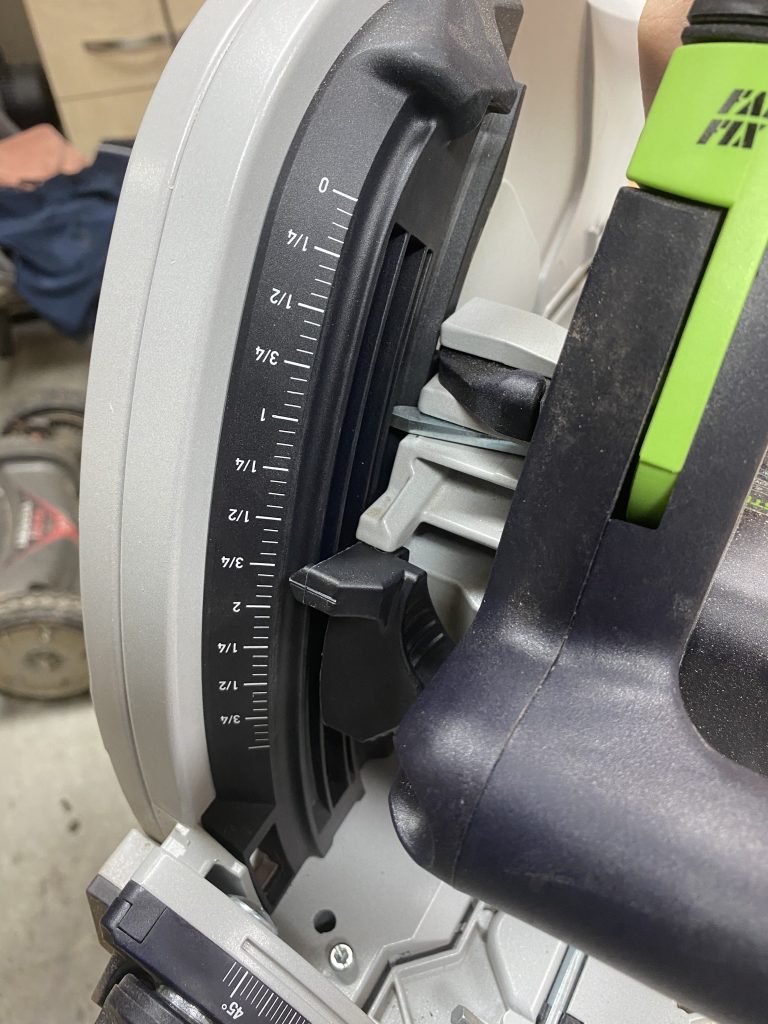
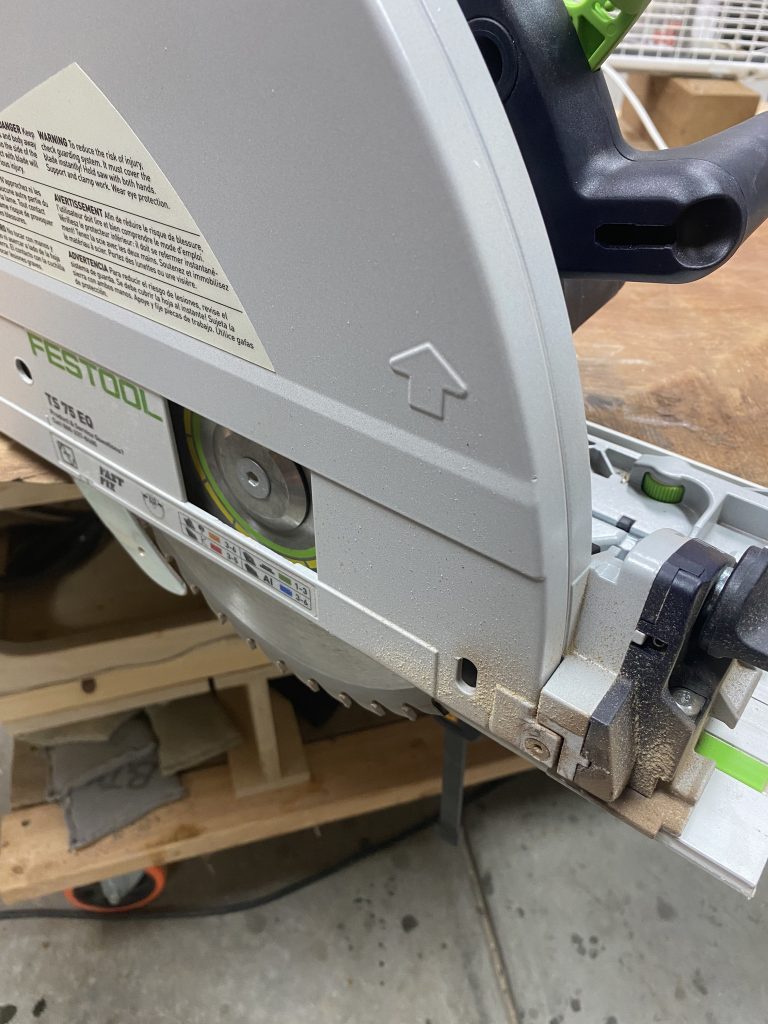
There is a limit of 3 inches of depth my Festool track saw can cut. For the slabs that are larger than 3″, I take several passes with the tracksaw to get maximum depth, I then use a Gyokucho Razorsaw Kataba Saw to complete the cut. Again, if you’ve never used a razor saw, you need to try one out. Razorsaws have several variations. Personally, I default to my gyokucho saw which 22″ long with 22 cross-cut teeth per inch. It’s great. I originally bought it to cut the joinery dowel out of the spline in the kitchen cabinets, so we could make them full openings for slide-outs. Since then, I must have found a dozen uses for these saws.
I mentioned above the use of clamps to hold the track in place. Festool makes several clamps and variations. Personally, I have a set of Dewalt clamps that work just fine for my purposes. The saw also hooks up directly to my Festool dust extractor. The CT 26 is great and I could dedicate an entire blog post to this dust collection system. The short version is, I’ve had and currently use several other dust collectors and none compare for smaller power tools. Besides the HEPA Certification, I genuinely feel better and there is much less dust floating around the shop. This is never more true than during the sanding process.
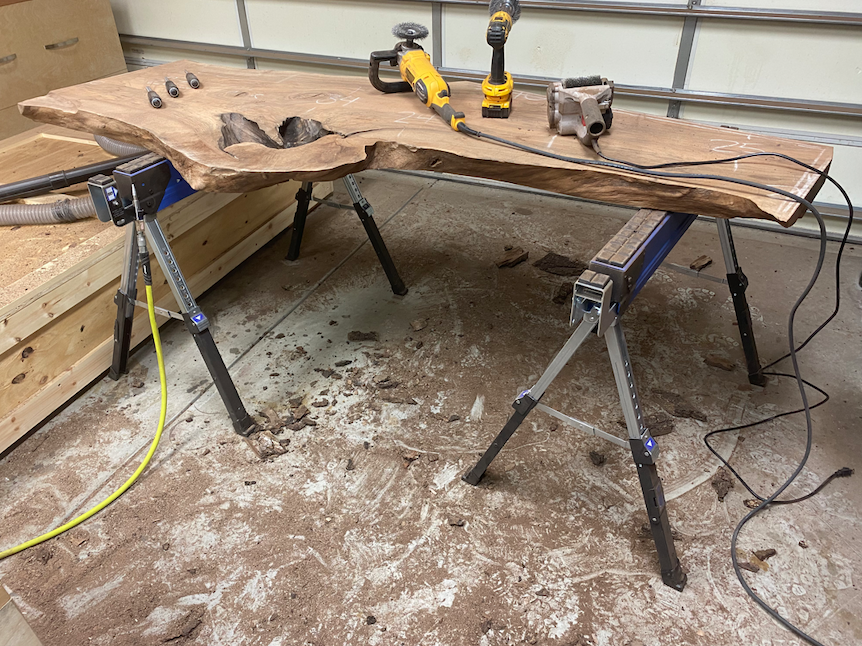
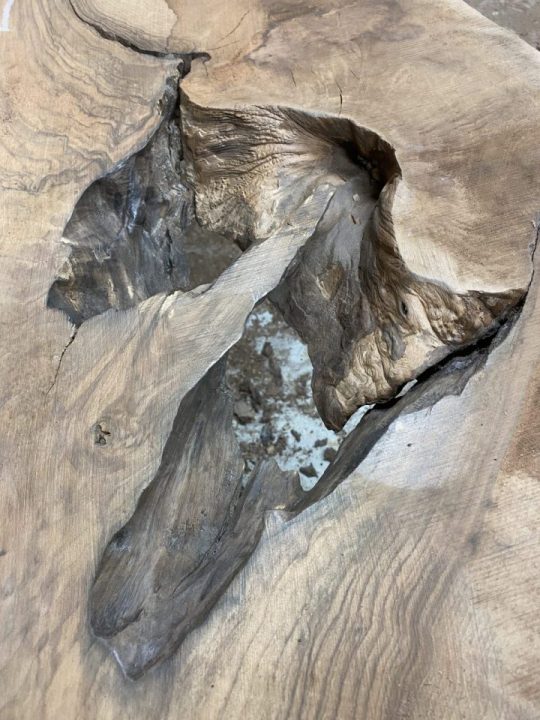
Once everything is cut, we remove the rotten wood and bark. This (1) takes some time and (2) makes a mess. If you can help it, use sawhorses and do this step outside. I was burning the midnight oil here plus, it was below freezing outside. My neighbors are totally chill with having a workshop in the neighborhood, so they have no problems with extra dust blowing around. A leaf blower and some coffee in the morning fixed this problem in about 5 minutes.
There are several different ways you can remove the rotted wood, but generally speaking anything with a wire wheel will work. You’ll also need a good chisel or two. You can clearly see a respirator and gloves are a must for this type of work and some form of noise-canceling headphones and eye protection is also highly encouraged. We want to remove this rot to allow the epoxy to get a good bond with the wood. This rot will also create more opportunities for air bubbles during the pour or particles floating in the epoxy that you will never be able to get out after the epoxy cures.
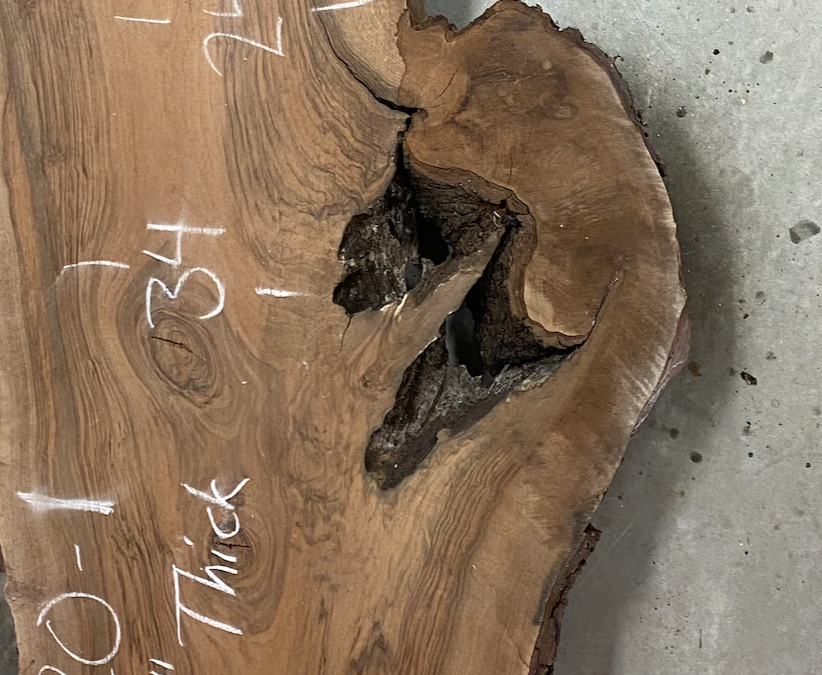
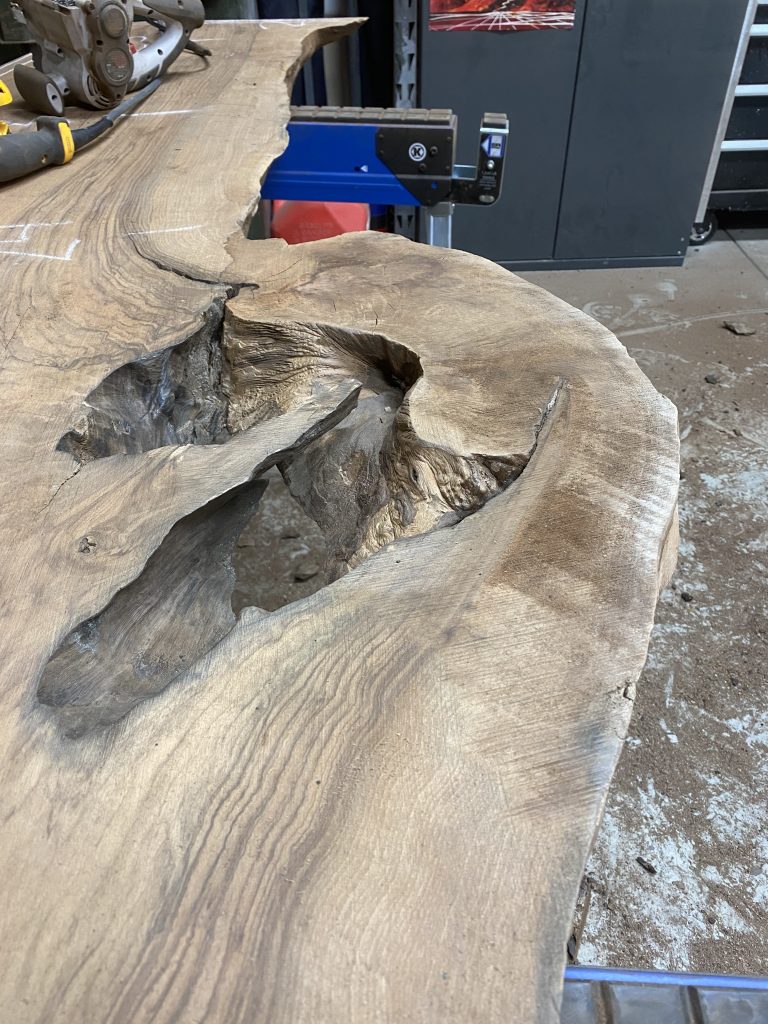
You really want to get in there with your chisels. My go-to’s during this step are 6, 10, and 12 mm. Any wood that is soft enough to remove with simple hand pressure needs to go. After all the larger loose stuff is removed, use a wire wheel to get in all the nooks and crannies. Lately, I’ve been using my Dewalt Polisher/Buffer with a 4 1/2″ wire wheel. I don’t have the RPMs cranked all the way in order to maintain good control. Somewhere between 2,000 and 2,500 RPM seems to work well. Use compressed air to blow the dust off of or out of the area your working.
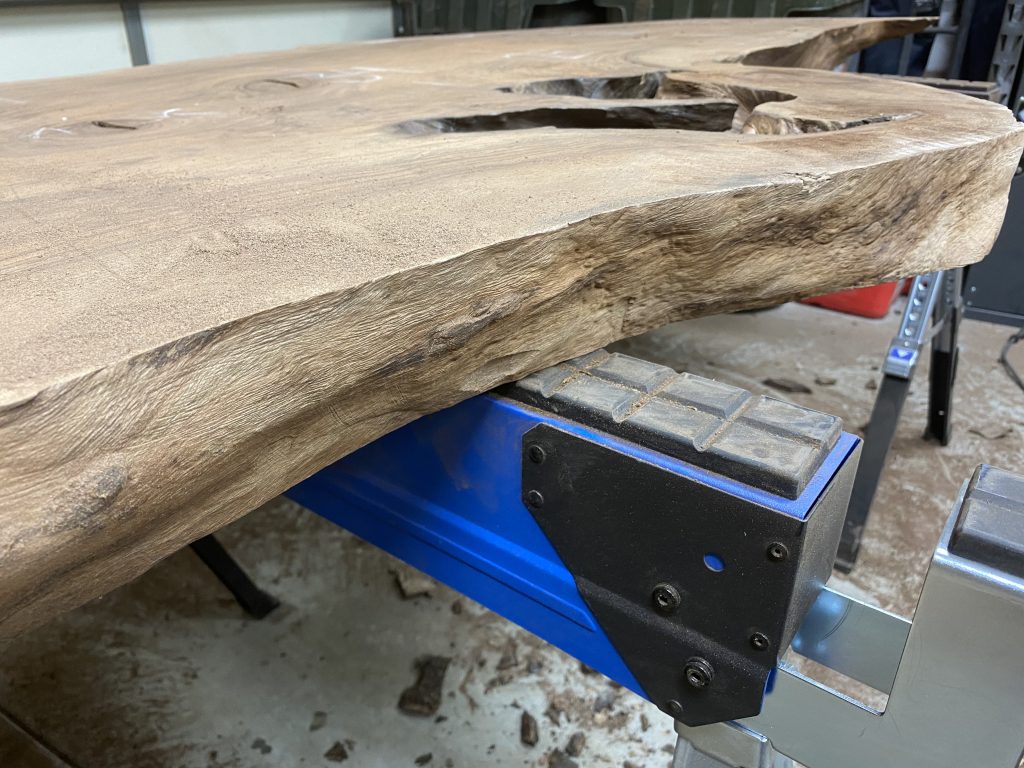
For the edges that are typically flatter, my Porter-Cable Restorer works like a champ. I originally purchased this to help take stain or paint off reclaimed lumber boards and doors. I have much more control using the restorer versus a belt sander and I find I don’t damage or take off as much material from the older wood. The drum can be outfitted with any 3″x4″ abrasive roll. For this application, it’s just what the doctor ordered. I changed the drum out to a stainless steel drum and the results speak for themselves.
We’re almost there, but I have some cleanup to do before we start messing with epoxy. We’ll also need some time to talk in-depth about building the mold. Be on the lookout for Part two coming up soon.
Tools Used:
Festool Track Saw: TS-75 EQ-F-Plus
Festool Guide Rails
Festool Dust Extractor: CT 26 E HEPA
Dewalt Track Saw Clamps
Dewalt Polisher/Buffer: DWP849X
Dewalt Cordless Drill: DCD780B

