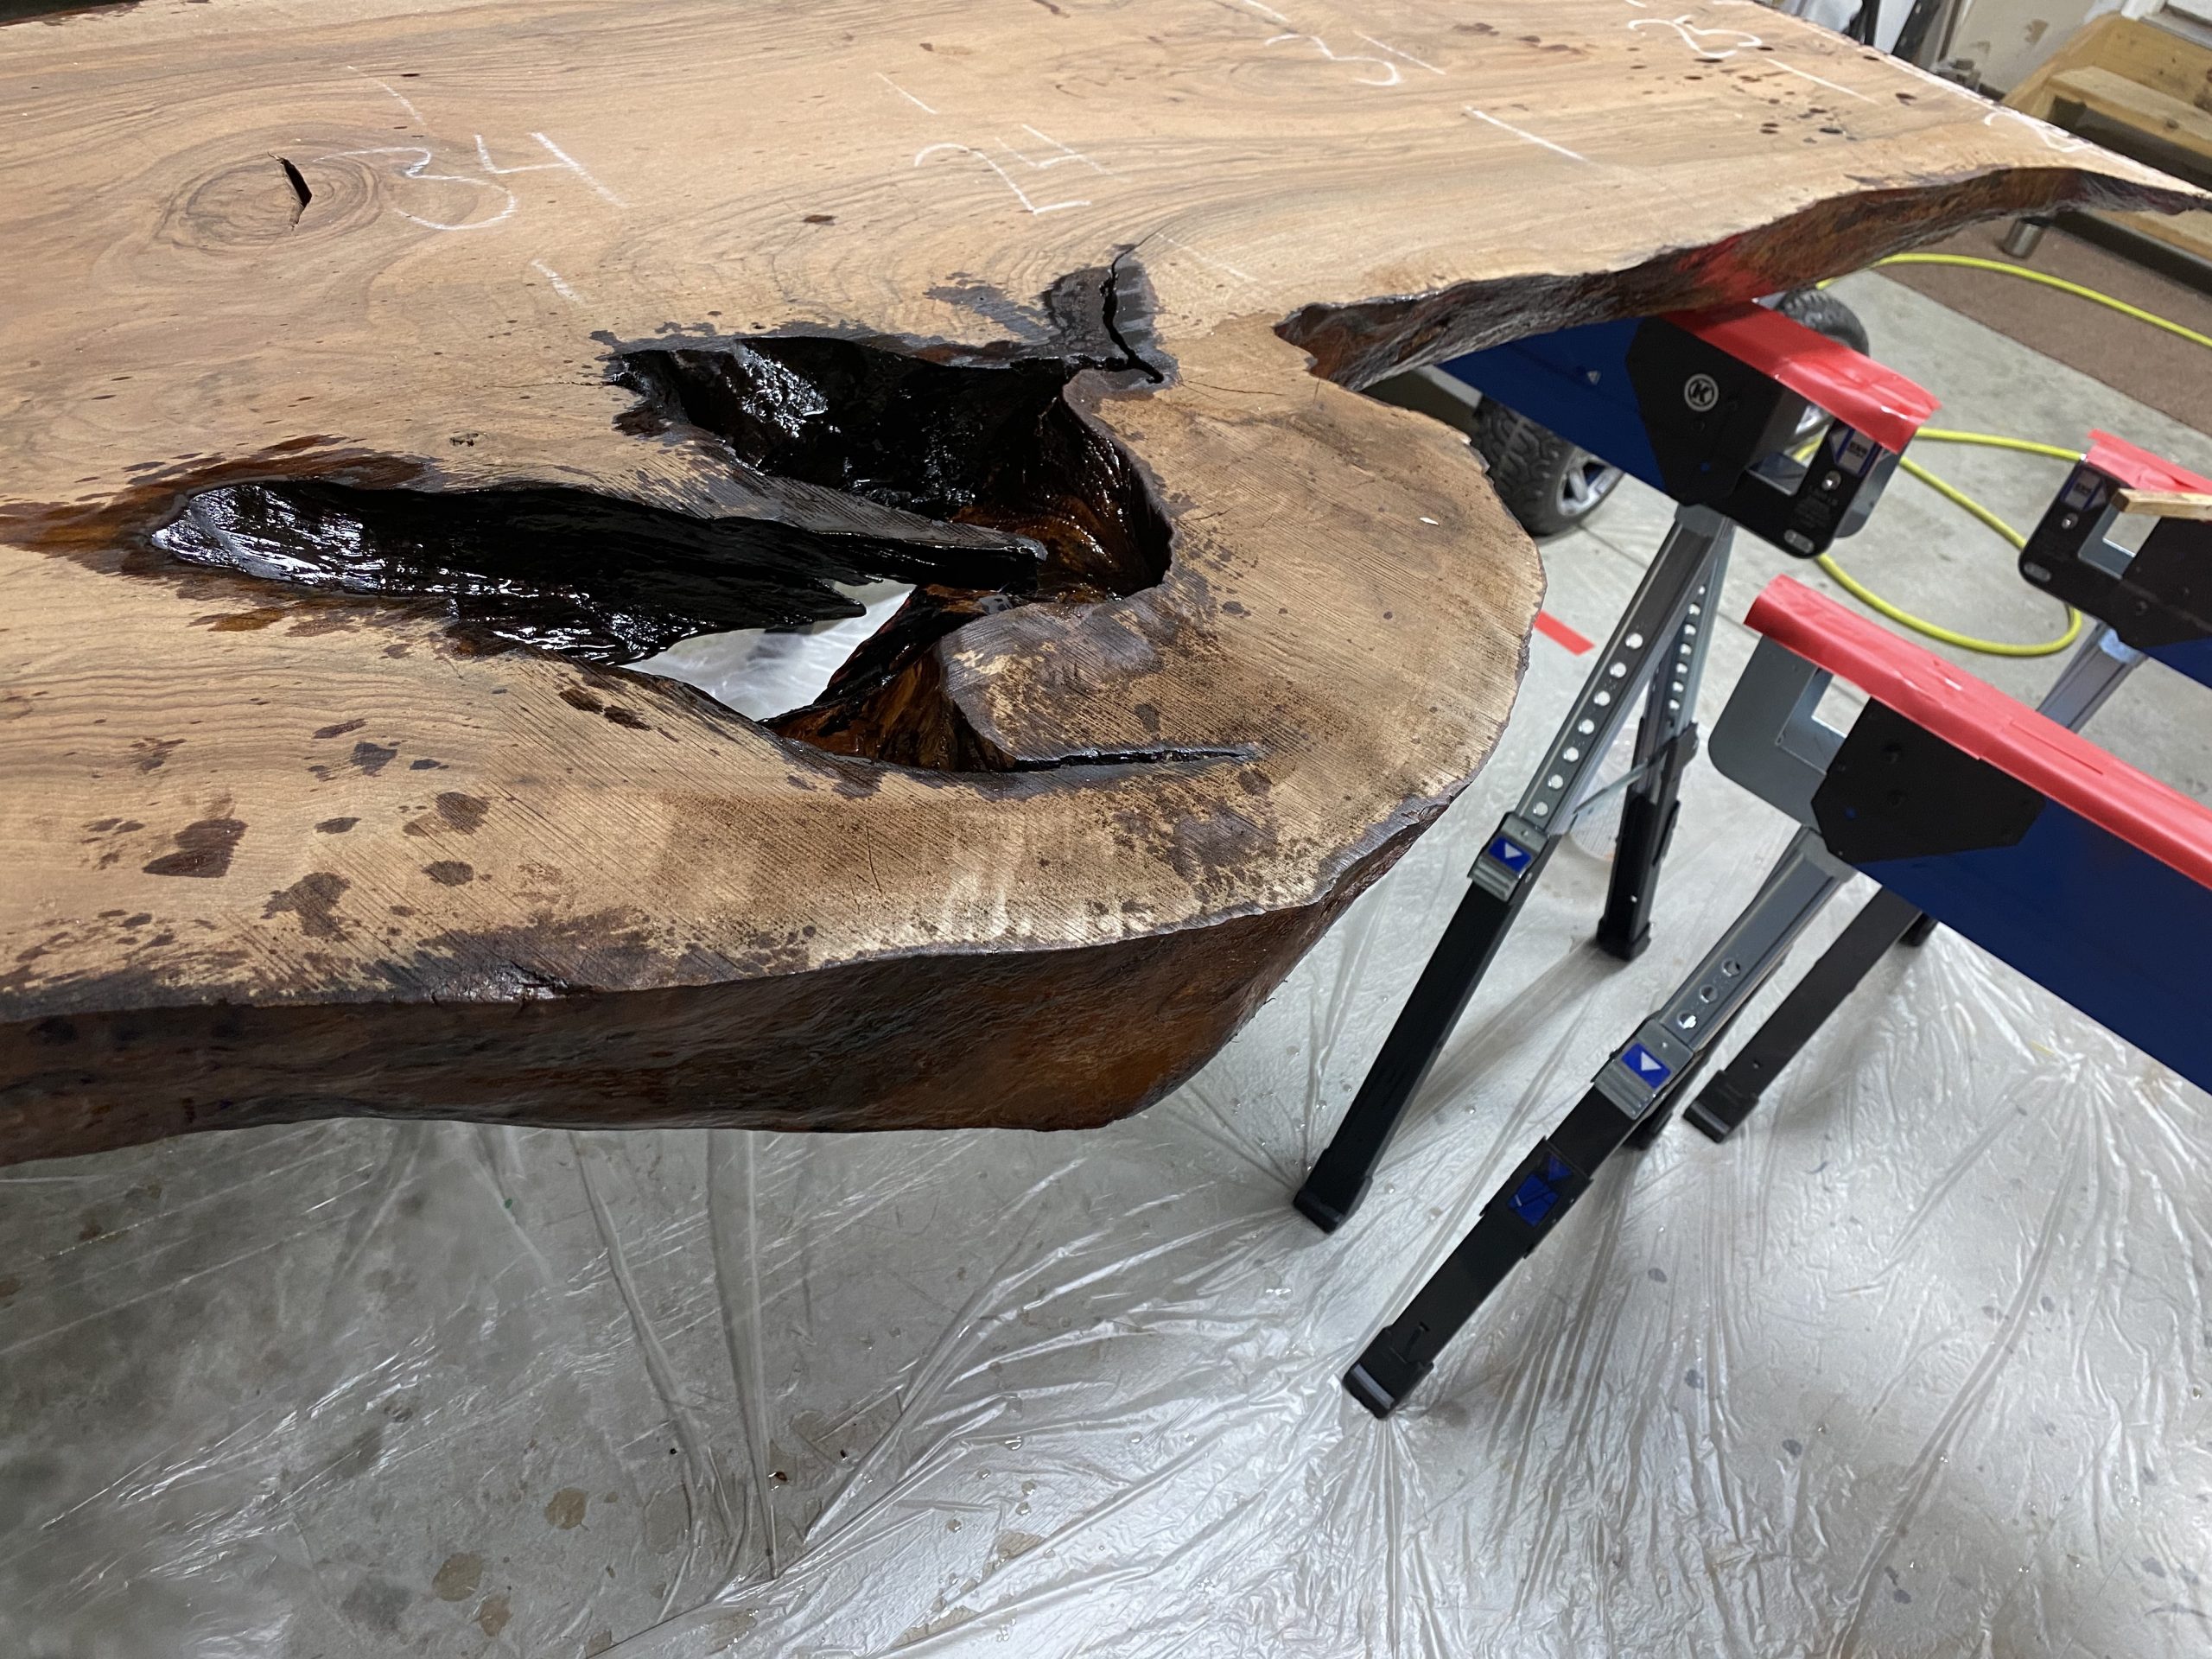
So we’ve clean up the floor, got a cup of coffee, and are ready to continue.
The next two steps I use are debated among woodworks whether or not they are necessary. I’ll give you my reasons for each step, but leave it open for you to decide on your own build. The first is sealing the edges with clear epoxy and the second is to shellack the top and bottom of each piece.
Before we mix any epoxy you will want to warm it up in a water bath. Kitchen sinks are fine provided your better half doesn’t catch you, but shop sinks are a much better idea. Especially during the winter months, a water bath for upwards of 60 minutes helps decrease the viscosity or, for lack of better terms; “thin out the mix”. This helps immensely in the mixing process.
I use LiquidGlass epoxy by FGCI for all my deep pours. I’ve tried several types of boat or deep pour epoxies in the past, and this is the one that I have chosen to stick with. I have my reasons, but you’ll have to wait for a future blog for that discussion.
LiquidGlass is a 2:1 ratio epoxy. You can get LiquidGlass in several quantity variations. I choose to get the 3 gallons (2 gallons Part A, 1 gallon Part B). You are always going to use slightly more than you think (edges, touch-ups, etc.) and the last thing you want is to run out in the middle of a pour sequence. I have yet to have a problem with the shelf life of an open bottle. I’ve stored partially used bottles in my shop for several weeks before using them again without issue.
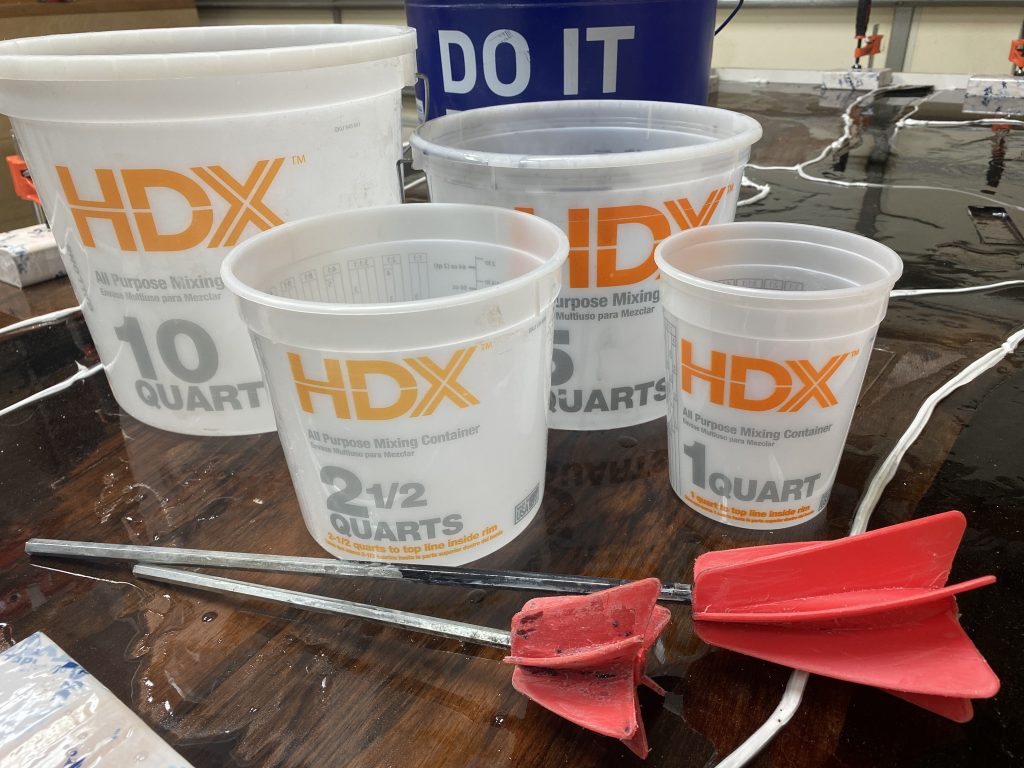
The other tools you’ll need to mix the epoxy is your drill (I use the same cordless Dewalt drill from cleaning up the edges) and a paddle mixer. I have two different types depending on the depth of epoxy I’m mixing. You are also going to need to find some measuring buckets from your local big box store. I go back and forth between box stores since they are both roughly the same distance for me, so it’s a question of quality and price versus availability. I have found these HDX measuring buckets work the best for me.
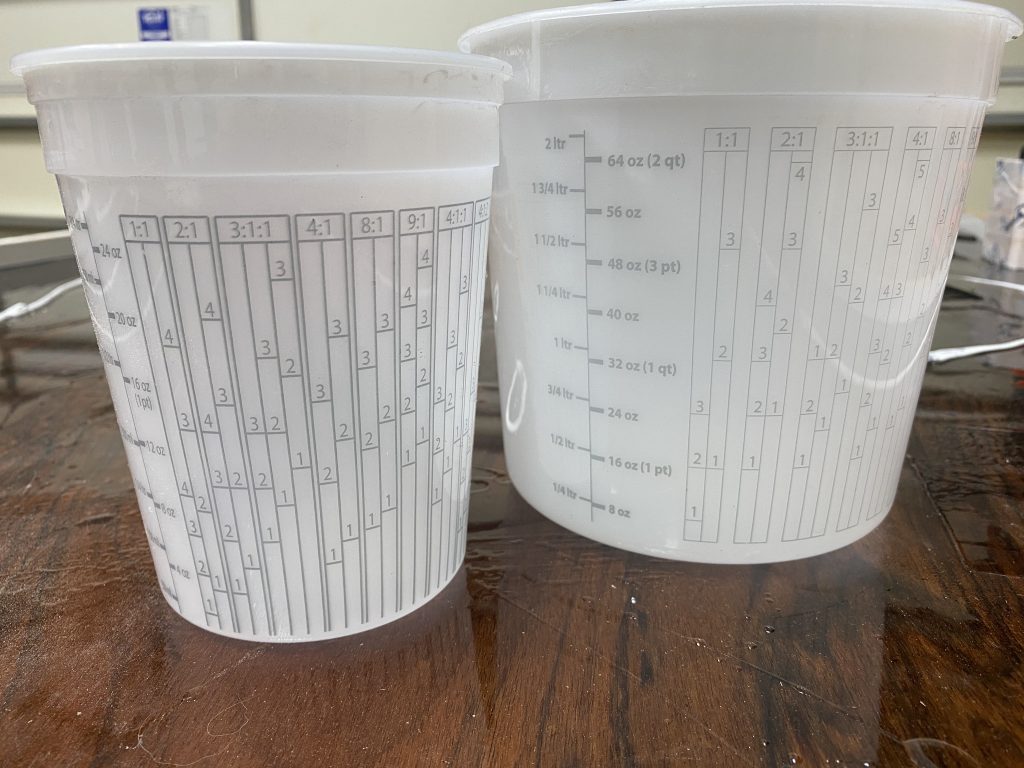
Much like any other measuring container at the box stores, on the back, it displays both liter and oz. On the 1-quart and 2.5-quart containers, HDX also displays the ratios for a variety of mixes. This allows for smaller mixes. These can be confusing to read but they are really quite simple. The ratios are across the top, then you have your fill lines within the graph. Just remember to use the same numbers as you work your way across the graph. Ie. if you are using a 3:1:1 ratio epoxy and you estimate you need roughly 16 oz; first pour your Epoxy (Part A) to line #2 in the left column, then Activator (Part B) to line #2 in the middle column, followed by Reducer (Part C) to line #2 in the right column. It’s that simple.
During any given build you will end up mixing 4-7 batches of epoxy. Which begs the question, how do you measure your epoxy? For the edge work, there is no real scientific formula for calculating. Sure we could take our time and measure everything out to get to the exact drop. I have always been able to “feel” this measurement out. As I mentioned above, LiquidGlass is a 2 part epoxy with a 2:1 ratio. For this specific table, I use a 1-quart container, the 2:1 column, and determine I’m going to use line #2 or around 10-11oz total. Remember this table is 84″x 38″. For the Belmont dining room table was slightly larger (96″x42″) with more edges. I used the same container and ratio but used the #3 lines measurement which is roughly 16oz.
Another tip I have learned: if you underestimate the amount and need more epoxy, don’t reuse the same container. This eliminates the possibility of having your 2:1 ratio out of whack. A benefit of LiquidGlass is you don’t have to have the ratio measured out to the exact eye-dropper, but you do need to be accurate. If the bottom or sides have higher quantities of Part A or B, it could throw off your entire mix. Simply use a clean container.
So our epoxy is warm, we’ve estimated how much epoxy we will need to mix and we’re ready to start pouring. Not so fast. One last thing; cover the floor with a plastic drop cloth. It doesn’t really matter what the thickness is or what the material is, simply use something that you can throw away. No matter how careful you are, you’re going to get epoxy on the bare floor. Taking five minutes to cover the floor is a lot faster than the time needed to clean dried epoxy off the floor. This plastic cover stays on my shop floor for two edge pours and the entire table pour, so you will get your use out of it. Glove up and now you’re ready to go.
Have your drill/mixer ready to go. I used my 2 3/4″ paddle mixer for my smaller containers and the larger 3 1/4″ paddle mixer for my multi-gallon pours. When you start mixing; go SLOW. Do your best not to splash or incorporate air bubbles into the mix. A good mix will take roughly 4-5 minutes.
It’s very important (and I can’t stress this enough) to scrape down the sides and bottom. Use a spare stick or offcut, something that will reach to the bottom of the container and work all the residual off the sides. The epoxy will not cure correctly if you do not scrape here. The sequence should be; mix for 45-60 seconds, scrape the sides and bottom, then repeat twice. No pun intended but LiquidGlass will be crystal clear when it’s mixed correctly.
Now, wait a few minutes. LiquidGlass is designed to naturally vent all the microbubbles to the surface. Just give it a few minutes to do so. Personally, I try to give it fifteen-minutes but it ends up being closer to ten. Use a propane torch to pop the remaining bubbles on the surface.
Apply the epoxy to the slabs with any type of brush you wish. I started out using the least expensive brushes I could find since you are forced to throw them away after one use. My daughter helped me discover the benefit of using Silicone brushes after she used a Rockler glue brush to “help me mix epoxy”. Total accident, but she got a pint of ice cream after I realized what she taught me. These brushes can be used over and over again. Let the epoxy dry for three to four days and the cured excess slides right off. I’m sure there are others out there using silicone brushes for years, but it’s a great family “discovery” that she’ll hold over me forever.
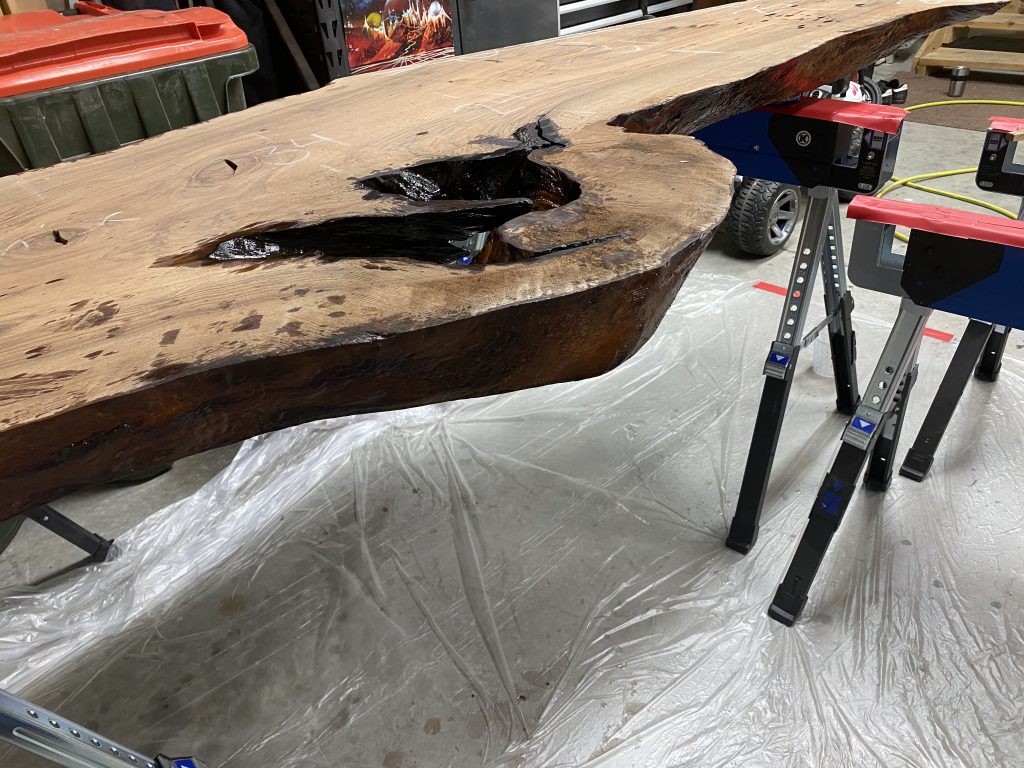
Brush the epoxy on all sides of the slabs that will come into contact with the epoxy rivers. On this table, there is plenty of areas to cover with epoxy. The original argument made to me about the sides was to ensure a great bond between the wood and epoxy. You are ensuring it gets everywhere along the edge and after it cures just scuff up the edge slightly with fine sandpaper or use a wire wheel to allow the deep pour epoxy to adhere correctly during the curing process to the previously poured resin. Especially in the larger cracks and intrusion of this edge, this steps helps seal off larger areas that may trap air bubbles and thus causing larger qualities of micro-bubbles during the deep pours.
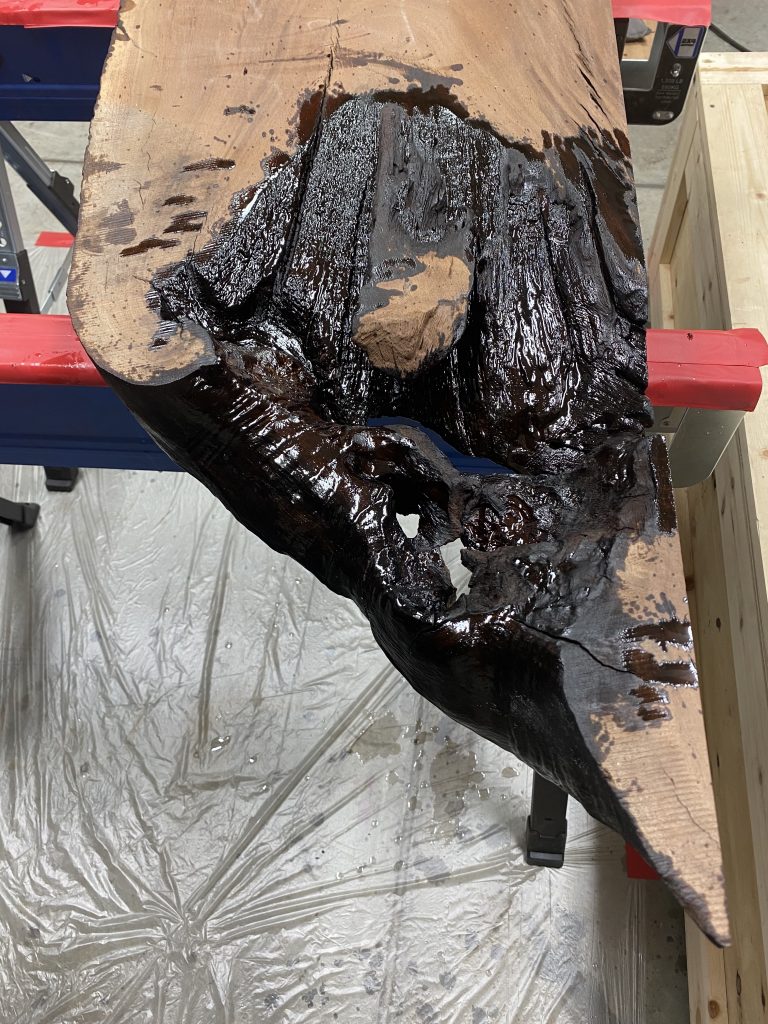

I’ll end up repeating this step for a total of two epoxy applications along the edge. I’ll allow roughly 18 hours between applications. Make sure the original coat is still tacky or scuff up the first coat with fine sandpaper or a wire wheel.
The next and final step in preparing these slabs is only necessary if you are using some form of dye in your epoxy. If you intend to have your rivers be clear, then you can skip this step. My primary epoxy dye for solid colors is TransTint. It’s a great product and you can find it almost anywhere. The curse of a good dye is that it works really well. If you accidentally splatter dyed epoxy onto the wood you intended to leave natural, there is a possibility the dye will soak into the wood and stain your piece.
There is no good way to get this out, believe me, I tried. At best you’ll end up sanding a concaved indent into the table from over-sanding in one spot. I would recommend sealing the top and bottom of the slab to prevent this stain. The protective layer and any epoxy drops will then be removed during the planing process.
I simply use shellac to seal these two sides up. It takes no time at all to dry and does the trick. A simple solution for a potentially problematic issue. Use a cheap brush here, it’s going to get tossed in the trash after use. You need one good coat.
This is the step that seems to be the most debated among woodworkers throughout the process. For me, it’s easier to take an extra few minutes to coat it on and allow it to dry rather than dealing with a potential problem from a dye stain. Since I first started building these tables, I have shellacked the top and bottom. It has always worked, so I see no reason to change now. However, if you feel this is overly cautious or a wasted step, by all means, skip over it.
Now we’re ready. Be on the lookout for the next update about this and other tables and follow us on Instagram for more build updates in realtime.

