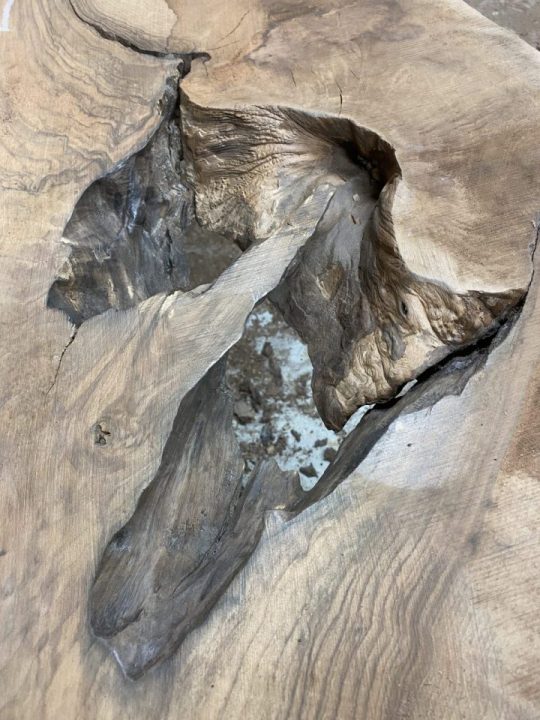
Before the Pour, Part 2

So we’ve clean up the floor, got a cup of coffee, and are ready to continue. The next two steps I use are debated among woodworks whether or not they are necessary. I’ll give you my reasons for each step, but leave it open for you to decide on your own build. The first is sealing the edges with clear epoxy and the second is to shellack the top and

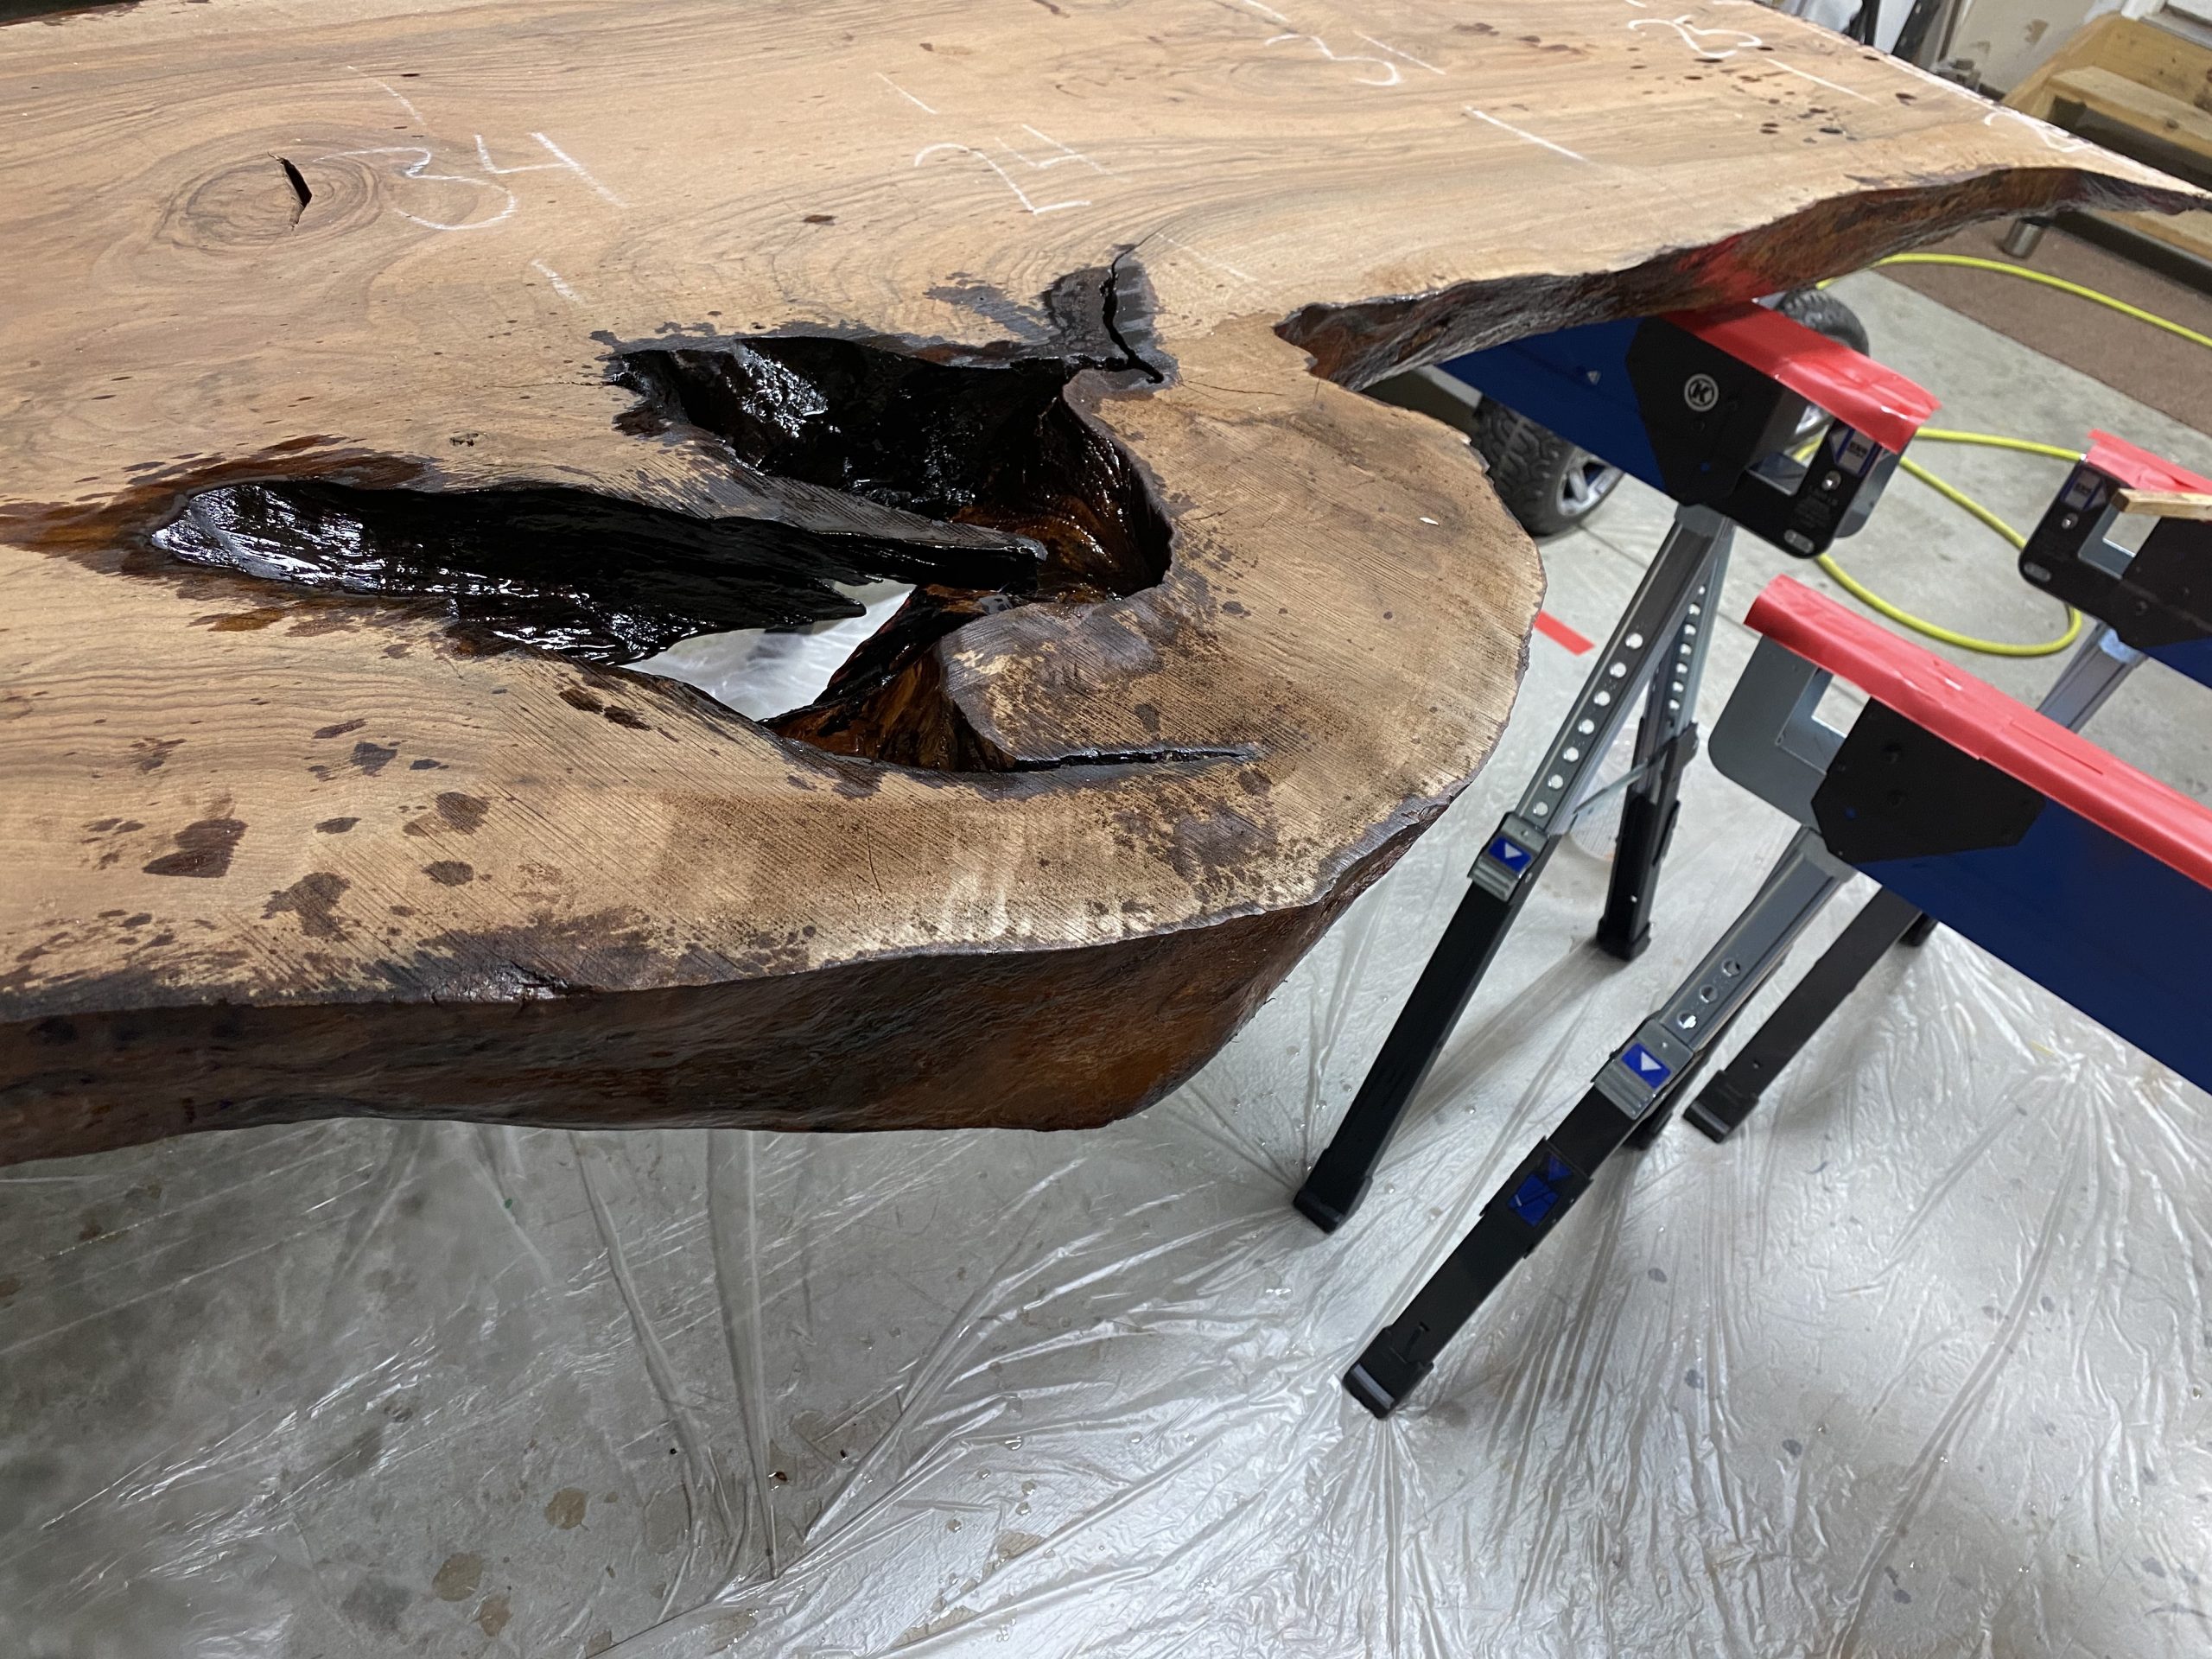
Before The Pour, Part 1

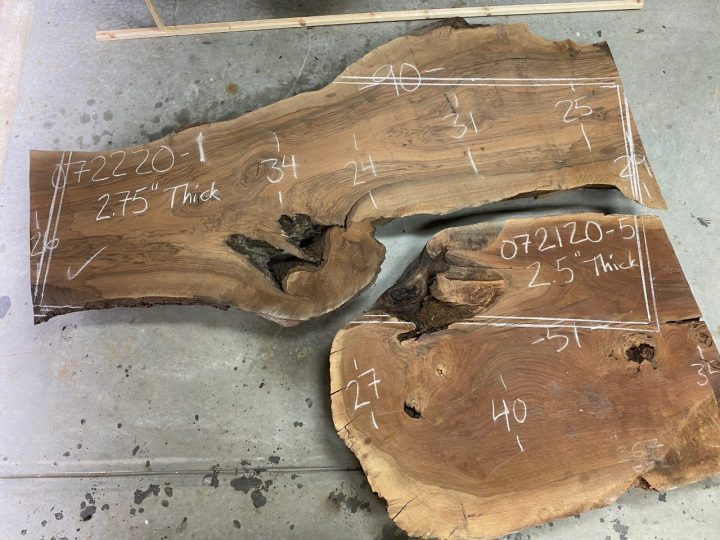
Now it’s time to get to work.  You’ll start to see the table come together in the next few steps.  You’ll also need a few more tools used in each of these steps.  For easy reference, you’ll find a full list at the bottom of this blog post.  Just to recap, we have the slabs and have identified the layout.  Let’s make some sawdust. I like to use chalk to

The Layout

At first glance, you would think this is pretty easy.  To the uninitiated, you see the end product and understand the basics of how to get there; cut some wood, pour epoxy, sand a bit, attach the legs, and voilà, you have a table.  Of course, there is a bit more to it than that.  These builds do have a process, a standard set of procedures that can be broke