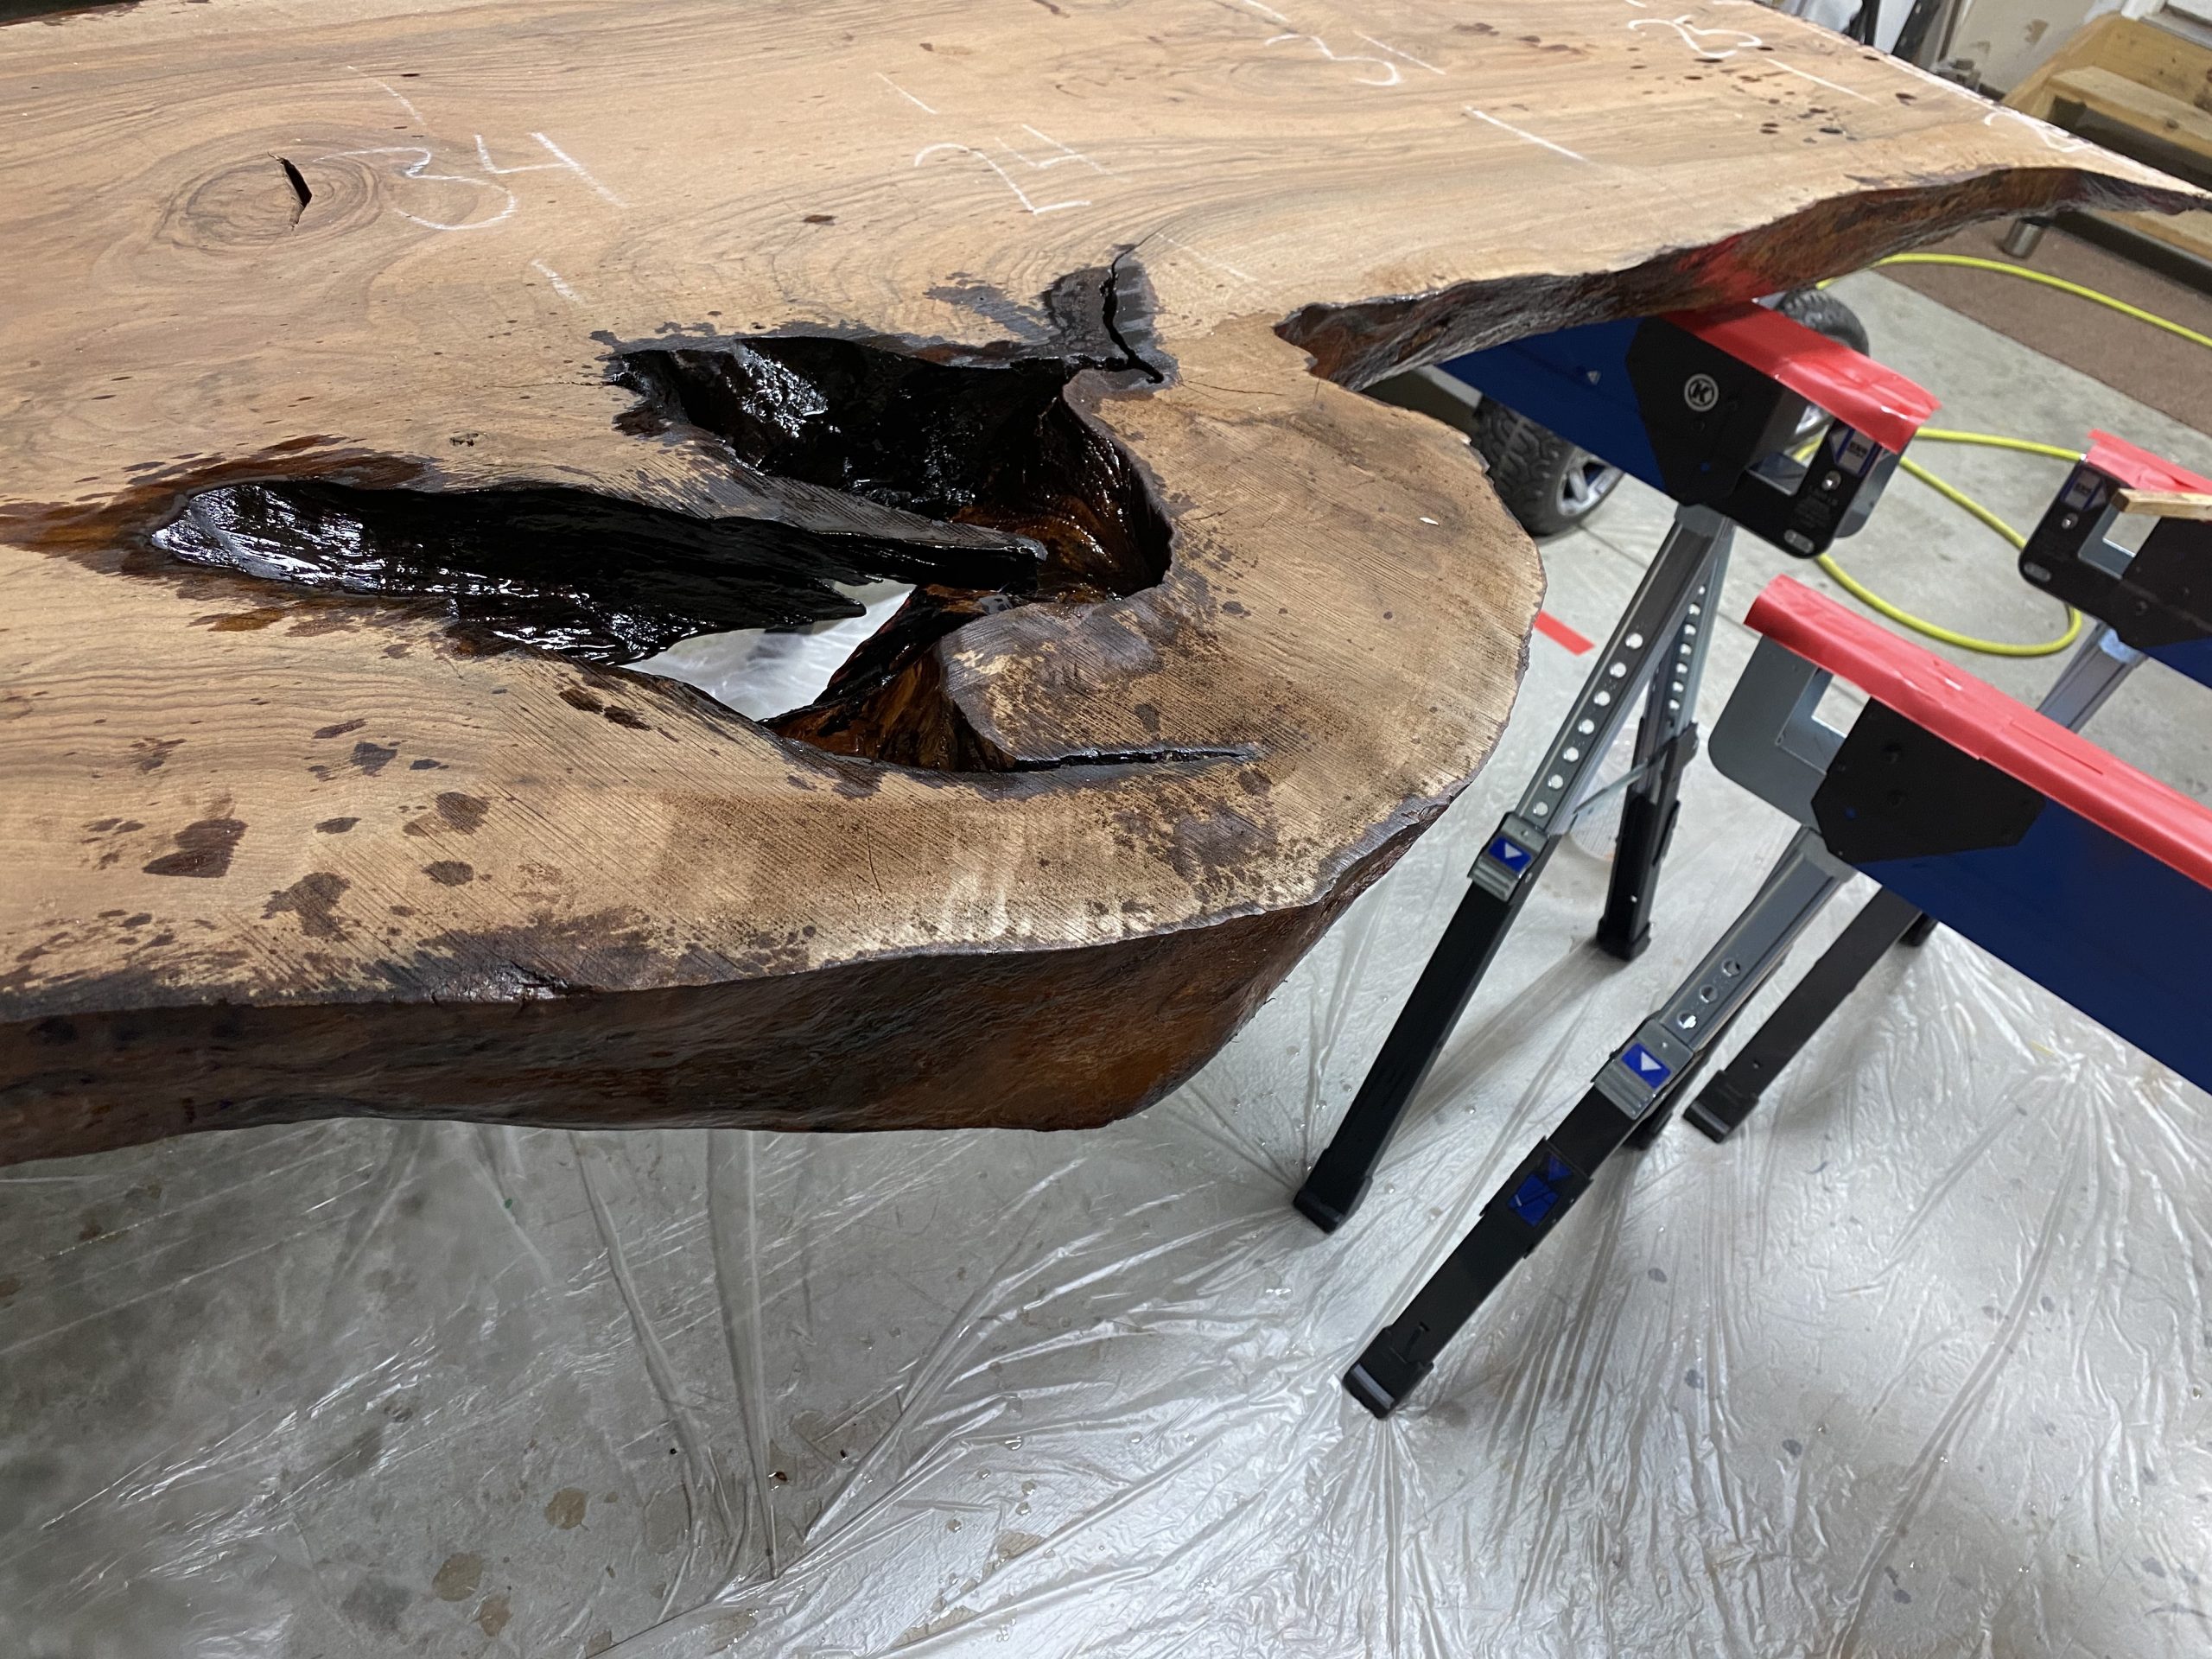
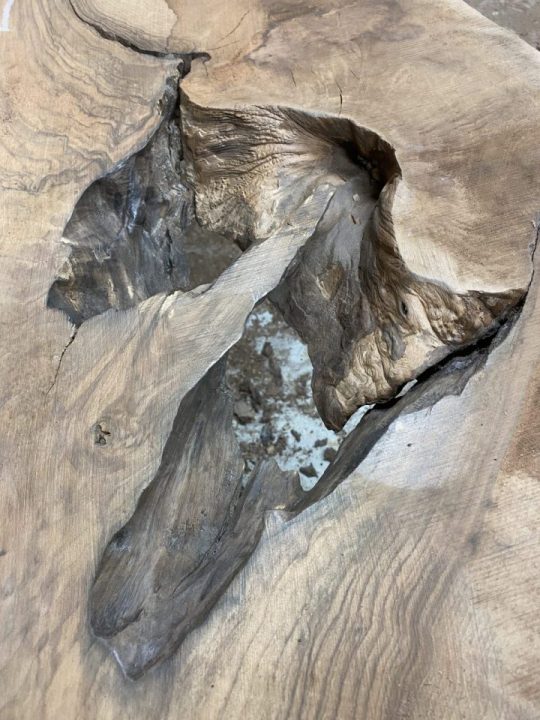
A River Is Formed

There are two steps that everyone and anyone will want to watch. One is applying the first coat of finish to see the wood grains pop for the first time, and the other is the first pour of an epoxy/resin river. It is very cool to see the formation of a table come to life. There are several tools/odds and ends you’ll need during your pour. Much like the tool

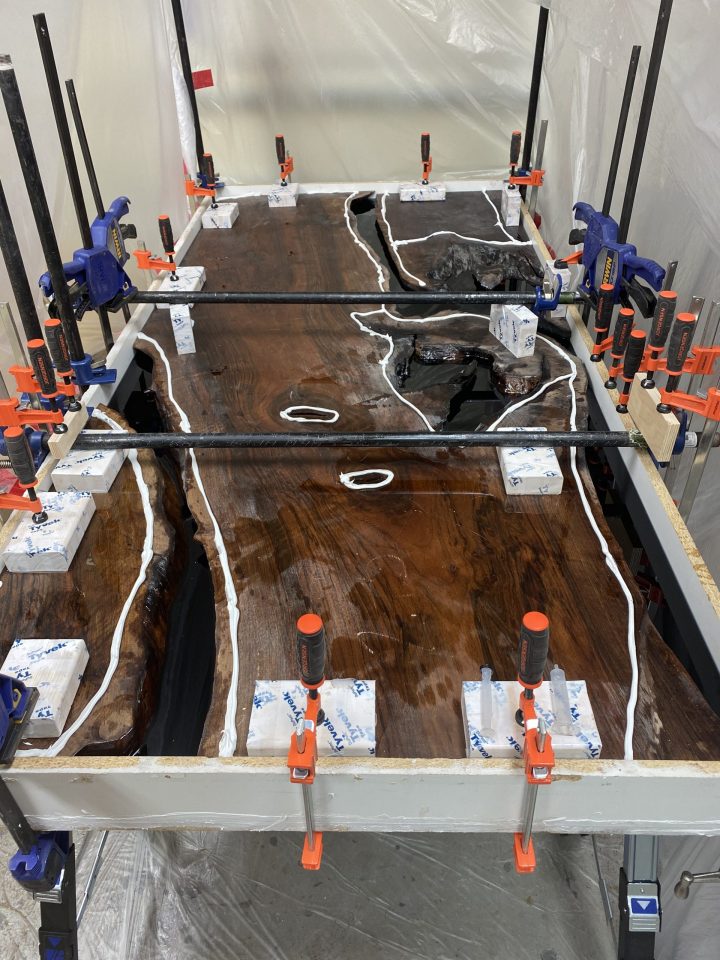
Before the Pour, Part 2

So we’ve clean up the floor, got a cup of coffee, and are ready to continue. The next two steps I use are debated among woodworks whether or not they are necessary. I’ll give you my reasons for each step, but leave it open for you to decide on your own build. The first is sealing the edges with clear epoxy and the second is to shellack the top and

Before The Pour, Part 1

Now it’s time to get to work.  You’ll start to see the table come together in the next few steps.  You’ll also need a few more tools used in each of these steps.  For easy reference, you’ll find a full list at the bottom of this blog post.  Just to recap, we have the slabs and have identified the layout.  Let’s make some sawdust. I like to use chalk to

The search for wood

Let’s start with a simple question; where do we find the wood?  Well, that’s complicated.  I’m located on the east coast which limits the availability of wide slabs of furniture grade wood at a reasonable cost for a small shop.  My preferred species is walnut, more specifically black walnut, which makes it even harder to get the slabs I’m looking for.  Forget about Bastogne or English Walnut, it is virtually